
The Textile Arts Council offered a workshop on printing with leaves. I signed up immediately. I had heard from other textile artists how simple it is to print with leaves. Just roll the up with a scarf and that’s it. Well, its a bit more complicated than that. Lyra Bobo, an instructor in the Fashion Dept. at Santa Rosa Junior College was our teacher. She was a wealth of knowledge and had lots of samples. I was instructed to bring certain leaves that print the best. I hunted them up in the neighborhood and in my friend’s gardens. Eucalyptus, Smoke, Maple, Black Walnut, Grape and Hydrangea are some of the best. What fun. They were to be kept in water until use and carted up to Sebastopol, my final destination. I have done natural dyeing but this was a new experience. It was a beautiful Sonoma County Fall day. The outdoor studio was set up for us. After a info period about mordants, natural dyes and the procedure that we were going to follow, we got started. I realized that, like any art, you do not know the outcome until the “big reveal” at the end. There are so many variables such as, the time of year, type of tree or leaf, soil
Here’s how it goes: Washing of the fabric prior to dyeing is important. I use Synthrapol or Castile soap to remove any sizing. Then one must mordant the fabric in a combo or alum and iron. This will set the dyes. That means cooking it in this solution for about 45 minutes. Next you need a piece of flannel the size of your fabric, soaked in a iron solution and wrung out. This is called the blanket or carrier cloth. When that is done you, can start on the fun. First a layer of thin plastic or parchment paper the size of the scarf on the table, then the scarf, next place the leaves, vein or flower side down, spray with water, and cover with the carrier cloth. Press down gently on leaves and roll up from one end tightly and bind the scarf bundle with strips of muslin and place in a steamer for an hour. Here are a few pictures to illustrate. I didn’t get a picture of the steamer. The instructor used a commercial food steamer but one can create one at home in a big pot. This took five hours to make two scarves, one silk and the other silk/wool. counting the lecture and lunch. I am going to try it at home. If they turn out, I might even give a workshop to share the experience.
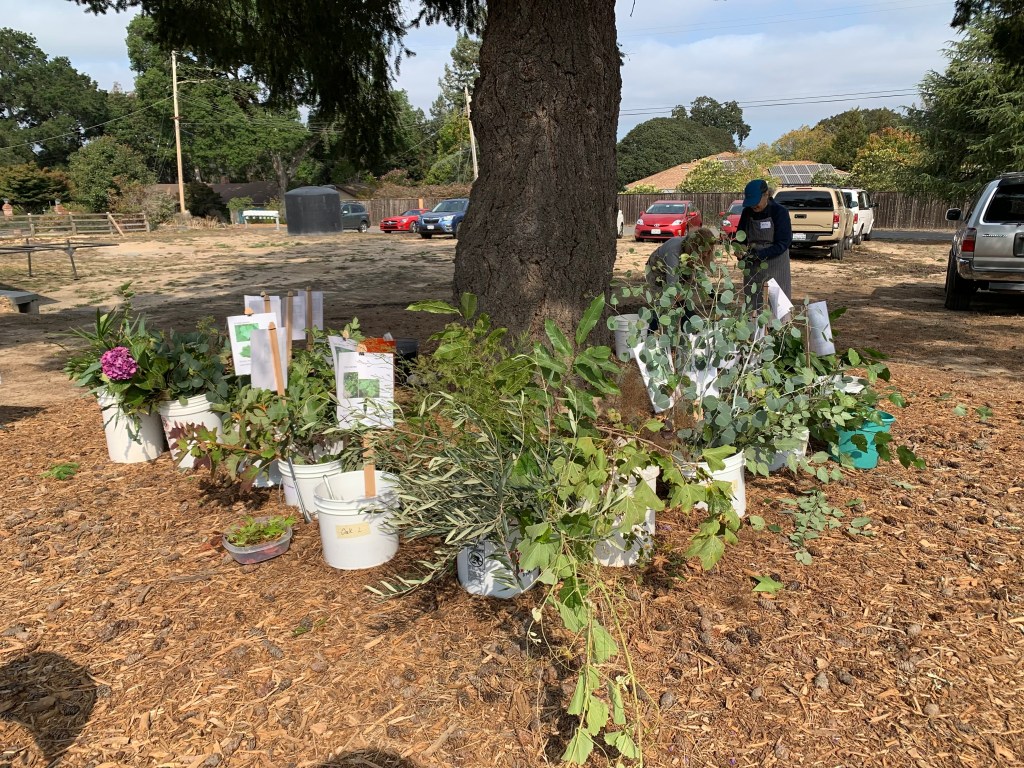
Bouquet of Dye Plants
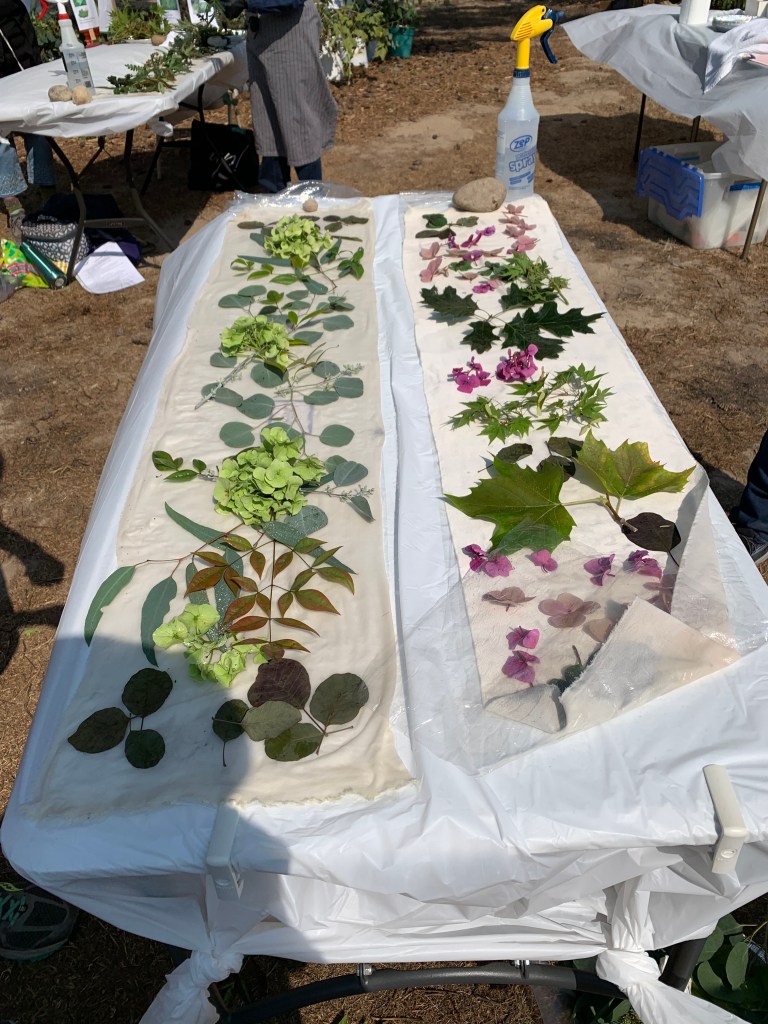
Scarves with leaves
scarf being rolled, scarf with blanket
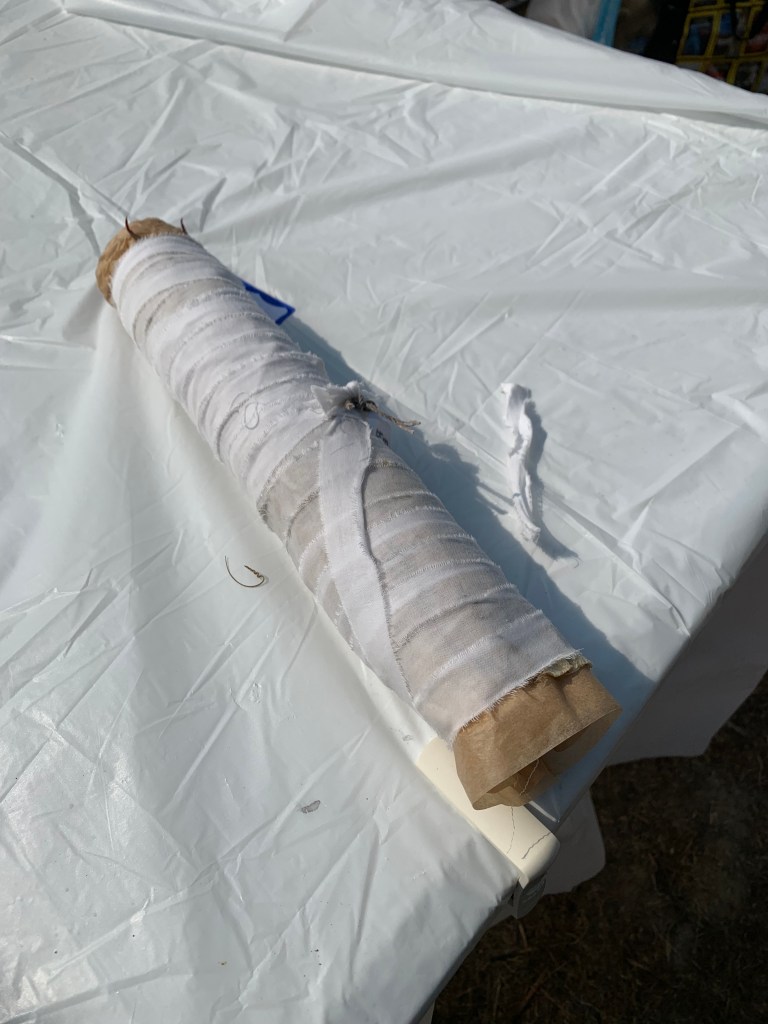
Bundle ready for steaming
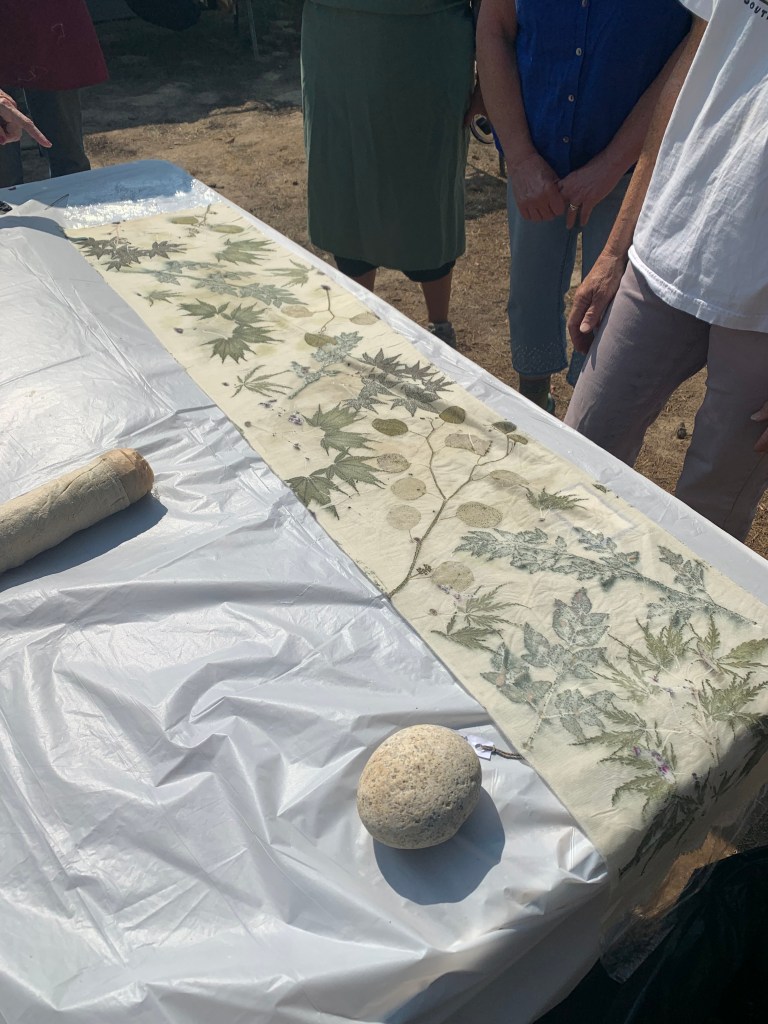
Finished scarf, alum mordant

Finished scarves on the clothesline.
